Analytics API Authentication: API Keys, OAuth, and Tokens Explained
Every analytics API call you make is a question your server is asking someone else’s server. The first thing that server needs to know: who is asking, and do they have permission? That’s analytics API authentication in a sentence — and getting it wrong is where most integrations fail, or worse, silently leak data.
In my 12 years working with analytics platforms, I’ve seen the same mistakes repeated: API keys hardcoded into front-end JavaScript, tokens passed in URLs where they end up in access logs, and integrations that fall over on the first 401 Unauthorized with no retry logic. This guide covers every auth method you’ll encounter when working with analytics APIs — and exactly how each major platform implements it.
The Four Authentication Methods You’ll Actually Encounter
Analytics APIs use a surprisingly small set of auth patterns. Understanding each one at the HTTP level makes every new integration easier to reason about, regardless of the platform.
API Key in a Header
The most common pattern for developer-facing APIs. You generate a key in the platform’s settings, then send it with every request in an HTTP header. The server validates the key and knows which account you belong to.
GET /api/v2/query HTTP/1.1
Host: plausible.io
Authorization: Bearer pl_live_abc123xyz456
The Authorization header is the standard home for credentials. The Bearer prefix is part of the HTTP Authorization header specification and signals that what follows is a token (not a username/password pair).
API Key in a Query Parameter
Some older APIs accept the key as a URL parameter instead: ?token_auth=abc123. This works, but it’s less secure — query strings appear in server access logs, browser history, and anywhere URLs get copied. Avoid it when you have the choice, and never log URLs that contain credentials.
GET /index.php?module=API&method=VisitsSummary.get
    &token_auth=abc123xyz456&format=JSON HTTP/1.1
Host: your-matomo.example.com
OAuth 2.0
OAuth 2.0 is the protocol behind “sign in with Google” and similar flows. Instead of a static key, the user (or your service account) proves identity to an authorization server, which hands back a short-lived access token. That token goes in the same Authorization: Bearer header — but it expires in an hour or so, so you also get a refresh token to exchange for a new access token without user interaction.
OAuth2 is more complex to implement but appropriate when you need access to user-owned data (like a Google Analytics account you don’t control). The OAuth 2.0 framework is documented in RFC 6749 if you want the full spec.
POST /token HTTP/1.1
Host: oauth2.googleapis.com
Content-Type: application/x-www-form-urlencoded

grant_type=refresh_token
&refresh_token=1//0abcDEFGH...
&client_id=your-client-id.apps.googleusercontent.com
&client_secret=YOUR_CLIENT_SECRET
Basic Authentication
Basic auth encodes a username:password pair in Base64 and puts it in the Authorization header with the Basic prefix. It’s the simplest pattern and still used in some self-hosted analytics APIs for session login flows.
POST /api/auth/login HTTP/1.1
Host: your-umami.example.com
Content-Type: application/json

{"username": "admin", "password": "your-password"}
Basic auth over HTTP is completely insecure — the Base64 encoding is trivially reversible. Only use it over HTTPS, and ideally only as a one-time step to obtain a bearer token (as Umami does for self-hosted instances).

How Each Analytics Platform Does Authentication
The theory maps cleanly onto the tools you’re actually using. Here’s how the main privacy-first platforms and the one proprietary giant each handle it.
| Platform | Method | Header / Parameter | Token lifetime |
|---|---|---|---|
| Plausible | Bearer token | Authorization: Bearer <key> |
Permanent (until revoked) |
| Umami (Cloud) | API key header | x-umami-api-key: <key> |
Permanent (until revoked) |
| Umami (Self-hosted) | Login → Bearer | Authorization: Bearer <jwt> |
Session-length JWT |
| Matomo | Query param or POST body | token_auth=<token> |
Permanent (until revoked) |
| GA4 Data API | OAuth2 / Service account | Authorization: Bearer <access_token> |
1 hour (refresh token used) |
Plausible Stats API
Plausible uses straightforward Bearer token auth. Generate an API key at plausible.io/settings and pass it in every request header:
POST /api/v2/query HTTP/1.1
Host: plausible.io
Authorization: Bearer pl_live_abc123xyz456
Content-Type: application/json

{
  "site_id": "your-domain.com",
  "metrics": ["visitors", "pageviews"],
  "date_range": "7d"
}
The v2 endpoint accepts a JSON body with the site ID, metrics, date range, dimensions, and filters. The API returns JSON. Rate limit is 600 requests per hour by default — plenty for reporting dashboards, tight if you’re polling for real-time data every few seconds.
Umami API
Umami Cloud uses a custom header rather than the standard Authorization header. Generate an API key in your Umami account and send it as:
GET /api/websites/{websiteId}/stats HTTP/1.1
Host: api.umami.is
x-umami-api-key: your-api-key-here
On a self-hosted Umami instance, there’s no pre-generated API key. Instead, you POST your credentials to get a JWT:
POST /api/auth/login HTTP/1.1
Host: your-umami.example.com
Content-Type: application/json

{"username": "admin", "password": "your-password"}

--- Response ---
{"token": "eyJhbGciOiJIUzI1NiJ9...", "user": {...}}
Then use that token as a Bearer credential for subsequent calls. The token is a short-lived JWT — your integration needs to re-authenticate when it expires.
Matomo Reporting API
Matomo uses a token_auth parameter. You’ll find your token in Matomo under Settings → Personal → Security. All requests hit a single endpoint with method and format specified as query parameters:
POST /index.php HTTP/1.1
Host: your-matomo.example.com
Content-Type: application/x-www-form-urlencoded

module=API
&method=VisitsSummary.get
&idSite=1
&period=week
&date=today
&format=JSON
&token_auth=abc123xyz456yourtoken
Note: I’m using POST here deliberately. With GET, the token appears in the request URL, which means it shows up in web server access logs, referrer headers, and browser history. Always prefer POST for Matomo calls when possible.
If you’re running Matomo for WordPress, the token_auth format changes: use username:application_password where the application password is a WordPress application password, not your Matomo token.
GA4 Data API
Google Analytics Data API uses OAuth2. For server-to-server integrations (the most common case), you use a service account: download a JSON credentials file, load it in your application, and the Google client library handles the OAuth2 token exchange automatically. Mention it as one option — but if you’re evaluating analytics platforms, the open-source tools above have simpler, more transparent auth that’s easier to manage long-term.
Security Best Practices That Actually Matter
Authentication method is only half the story. How you handle credentials in your codebase determines whether your integration is genuinely secure or just security theater.
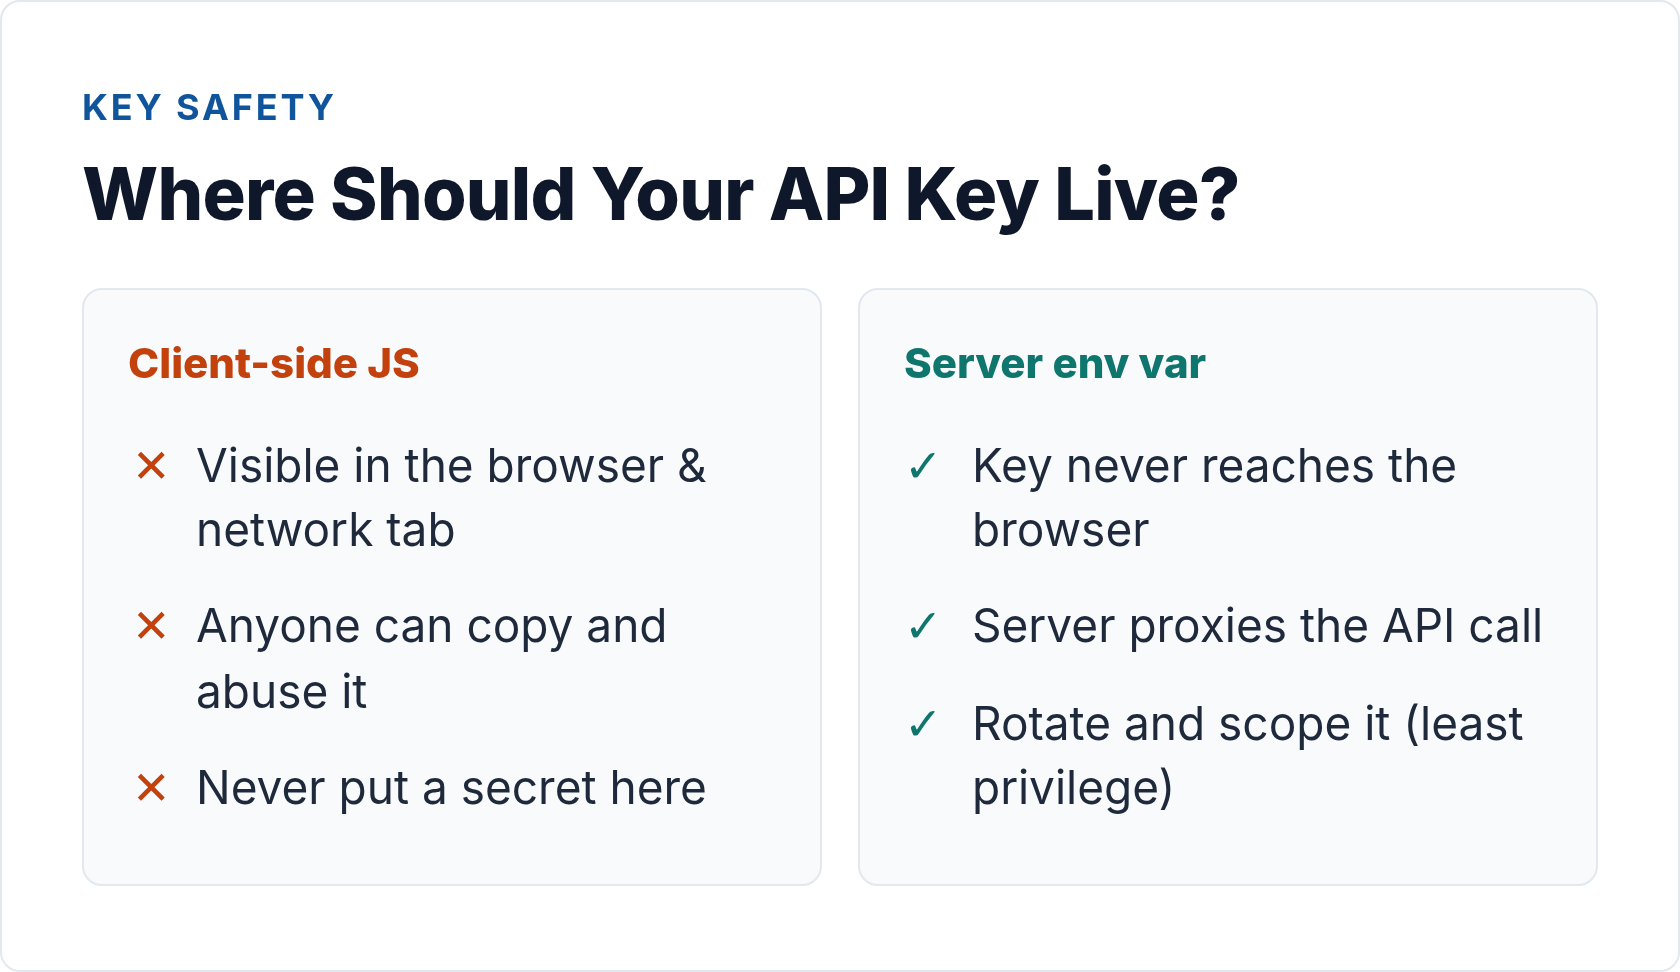
Never Put Secrets in Client-Side JavaScript
This is the most common mistake I see. If your API key is in a JavaScript file that browsers download, anyone who views your page source has your credentials. Analytics API calls must happen server-side — in a Node.js backend, a serverless function, or a server-rendered page. The browser receives only the processed data, never the key that fetched it.
This is also why server-side tracking matters beyond just cookies — it keeps your auth tokens on infrastructure you control, not exposed in the client.
Store Secrets in Environment Variables
Never hardcode API keys in source code. Use environment variables and load them at runtime:
# .env file (never commit to version control)
PLAUSIBLE_API_KEY=pl_live_abc123xyz456
UMAMI_API_KEY=your-umami-cloud-key
MATOMO_TOKEN=abc123xyz456yourtoken

# In your application
const plausibleKey = process.env.PLAUSIBLE_API_KEY;
const headers = {
  'Authorization': `Bearer ${plausibleKey}`
};
Add .env to your .gitignore immediately. In production, inject secrets through your hosting platform’s environment configuration — never through the repository.
Apply Least-Privilege Scoping
Most analytics platforms let you create API keys with restricted permissions. A read-only reporting key cannot modify your tracking configuration even if it’s compromised. Plausible, for example, offers different key scopes. Matomo has user roles. Always request the minimum scope your integration actually needs.
This connects directly to building a privacy-first data layer — the same principle applies: collect and expose only what’s necessary.
Rotate Keys on a Schedule
Static API keys that never change become forgotten liabilities. Set a calendar reminder to rotate credentials every 90 days, or immediately if you suspect exposure. Most platforms let you create a new key, update your application’s environment variable, verify everything works, then revoke the old key — zero downtime.
Handle 401 and 403 Responses Gracefully
A 401 Unauthorized means the server couldn’t authenticate your credentials — usually an expired token (for OAuth2) or a revoked key. A 403 Forbidden means authentication succeeded but you don’t have permission for that resource. Your integration should handle both explicitly:
async function fetchAnalyticsData(url, options) {
  const response = await fetch(url, options);

  if (response.status === 401) {
    // For OAuth2: attempt token refresh, then retry once
    // For API keys: log the error, alert ops team, fail fast
    throw new Error('Authentication failed — check API key or refresh token');
  }

  if (response.status === 403) {
    throw new Error('Access denied — check key scope/permissions');
  }

  if (!response.ok) {
    throw new Error(`API error: ${response.status}`);
  }

  return response.json();
}
Rate Limits and the 429 Response
Rate limiting is enforced at the authentication level — the platform knows it’s your key making requests, so it counts against your quota. When you exceed the limit, you’ll get a 429 Too Many Requests response, often with a Retry-After header indicating how long to wait.
The right pattern is exponential backoff with jitter:
async function fetchWithRetry(url, options, maxRetries = 3) {
  for (let attempt = 0; attempt < maxRetries; attempt++) {
    const response = await fetch(url, options);

    if (response.status !== 429) {
      return response;
    }

    const retryAfter = response.headers.get('Retry-After') || Math.pow(2, attempt);
    const jitter = Math.random() * 1000; // add up to 1s of jitter
    await new Promise(resolve => setTimeout(resolve, (retryAfter * 1000) + jitter));
  }

  throw new Error('Rate limit exceeded after max retries');
}
Plausible’s default is 600 requests/hour. Matomo’s limits depend on your server configuration if self-hosted. Build rate-limit handling into your integration from day one — retrofitting it later is painful.
Putting It Together: A Secure Integration Checklist
Before you ship any analytics API integration, run through this:
- Credentials stored in environment variables — not in source code, not in config files committed to version control
- All API calls happen server-side — no keys exposed to browsers or mobile clients
- Key scope is minimized — read-only where possible, no admin permissions unless required
- 401/403/429 responses are handled explicitly — not silently swallowed or allowed to crash your app
- Token rotation is scheduled — 90-day calendar reminder at minimum
- OAuth2 refresh tokens are stored securely — encrypted at rest if your platform handles them
- HTTPS only — never send credentials over unencrypted connections
Getting authentication right isn’t glamorous work. But it’s the foundation everything else rests on — your dashboards, your automated reports, your data pipelines. I’ve seen teams spend weeks debugging data quality issues that turned out to be authentication errors returning empty responses that the code treated as valid data. Start secure and you avoid that entire class of problems.
Once your auth layer is solid, you can focus on the interesting parts: querying the right metrics, handling pagination, and building integrations that actually hold up in production. That’s where GDPR-compliant analytics design comes in — because how you authenticate is inseparable from what data you’re entitled to access in the first place.
// Alicia Bennett
Lead Web Analyst based in Toronto with 12+ years in digital analytics — privacy-first tracking, open-source tools, and the analytics API layer that sits under every dashboard.
More about the author →